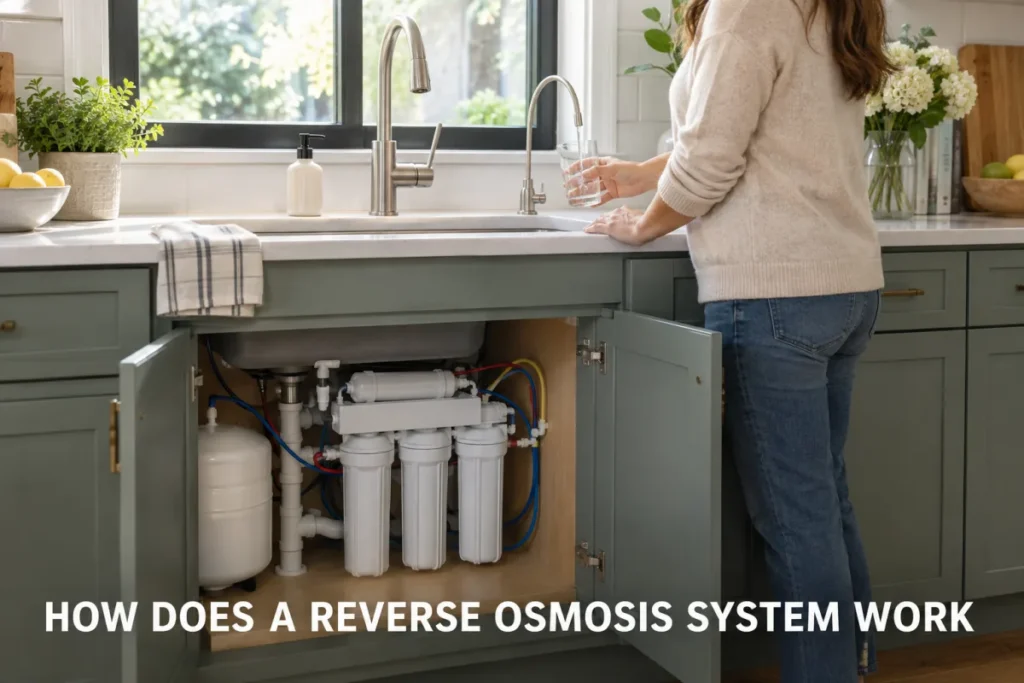

Installing a water filter means shutting off the water supply and connecting the filter to the line. Then you flush and test it before use. Most point-of-use systems, like faucet or under-sink filters, are a manageable DIY project you can finish in an afternoon. Whole-house systems are often a bigger job, since they involve cutting into the main supply line. Either way, installing a water filter correctly comes down to picking the right process for your setup.

By the end, you will know whether your setup calls for a simple faucet swap or a full whole-house install. You will also know which tools the job requires and how to confirm the filter is working correctly.
Key Takeaways
- Most faucet or under-sink filters install in about 30 to 90 minutes using only basic hand tools.
- Whole-house systems need roughly 10 GPM or more of flow and are often best left to a pro.
- A whole-house install needs a main shutoff, a bypass valve, and cutting into the supply line.
- CDC investigators confirmed that filters installed the right way made Flint’s tap water safe to drink again.
How to Install a Water Filter: Step-by-Step
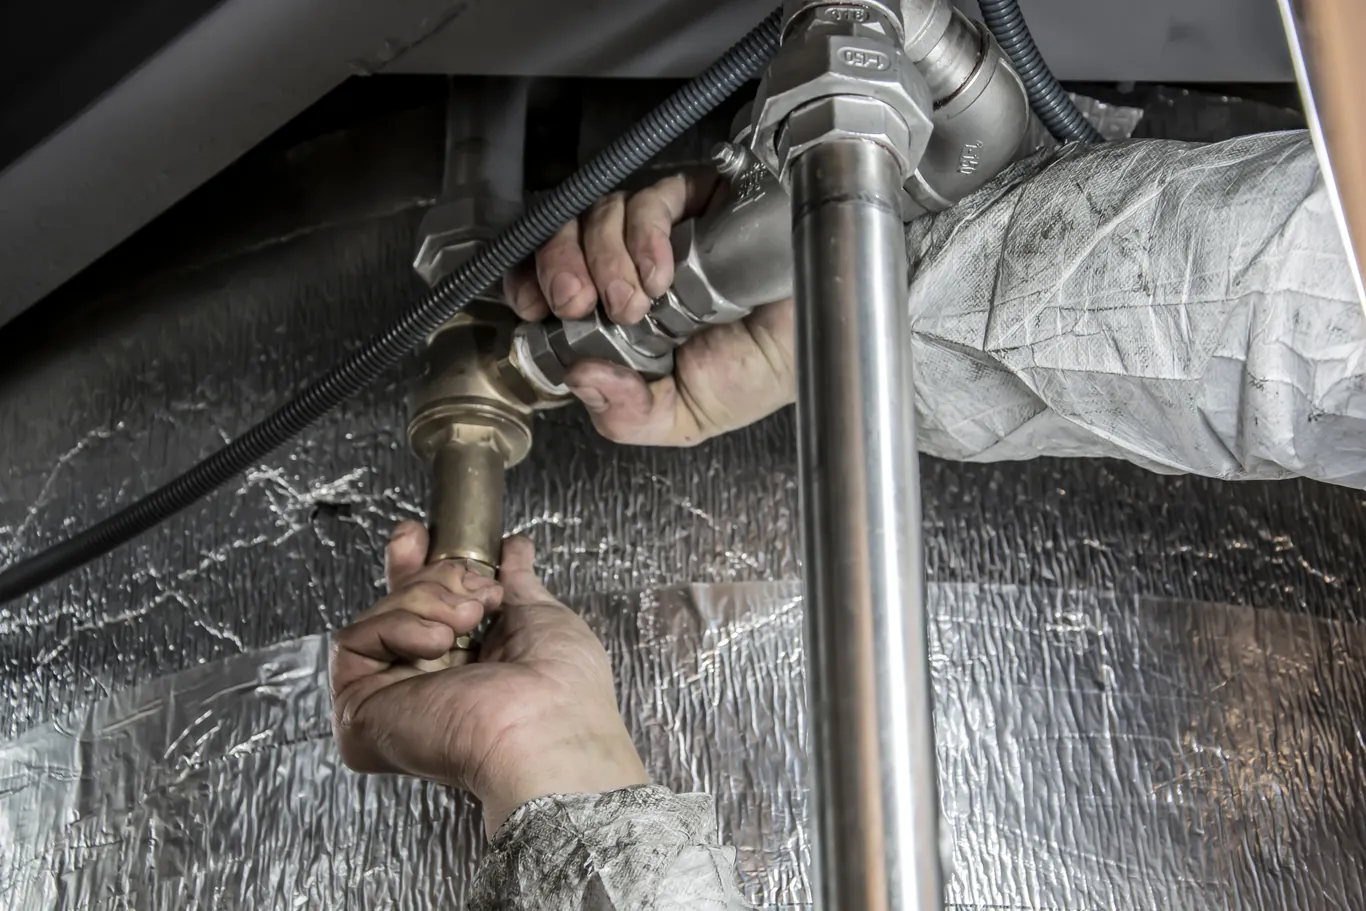
Installing a water filter adds a filtration stage to your cold water line. Incoming water then passes through a cartridge before it reaches the faucet. For most kitchens, that means working with a point-of-use system rather than the plumbing for the whole house.
- Turn off the water supply at the shutoff valve under the sink. Then open the faucet briefly to release any pressure left in the line.
- Remove the old filter cartridge, or cut the supply line at the spot where the new filter housing will sit.
- Attach the filter housing to the water line, matching the flow-direction arrow printed on the unit to the way water travels.
- Wrap the threaded connections with Teflon tape, then hand-tighten each fitting before using a wrench for a final quarter turn.
- Turn the water supply back on slowly and check each fitting for drips.
- Flush the new cartridge for several minutes before drinking the water, then confirm the flow, taste, and clarity look normal.
A point-of-use install like this often takes 30 to 90 minutes for someone used to basic hand tools. If your goal is filtering water at each tap in the house instead of just one, the process looks different. The next section covers it.
Whole-House vs. Under-Sink Installation: Which Process You Need
The two installation methods differ mainly in coverage, not how hard the job is. A point-of-use filter treats water at one tap, often the kitchen sink. A water filter for the entire home installs near the main shutoff and treats every fixture at once. That distinction matters most once you start thinking about contaminants like lead.
According to the EPA, drinking water can supply 20 percent or more of a person’s total lead exposure. That share climbs even higher for formula-fed infants. Households with lead concerns at a few taps often need whole-home coverage rather than one filtered faucet. The CDC recommends choosing a filter certified to NSF/ANSI 53 for lead removal, no matter which installation type you choose.
An under-sink reverse osmosis system certified to NSF/ANSI 58 addresses lead at rates well above the NSF 53 threshold; my iSpring RCC7 under-sink install review covers the typical DIY install scope and what a 5-stage certified unit needs to run correctly.
The practical differences come down to four factors:
| Feature | Point-of-Use (Under-Sink or Faucet) | Whole-House (Point-of-Entry) |
| Install location | At a single fixture, usually under the sink | Near the main shutoff, before water splits to other fixtures |
| DIY difficulty | Low, most homeowners can do it in under two hours | High, involves cutting into the main supply line |
| Tools required | Adjustable wrench, tubing cutter, and screwdriver | The same tools plus pipe-cutting and joining equipment |
| Professional help | Rarely needed | Commonly needed, usually a licensed plumber |
Tools and Materials You Will Need
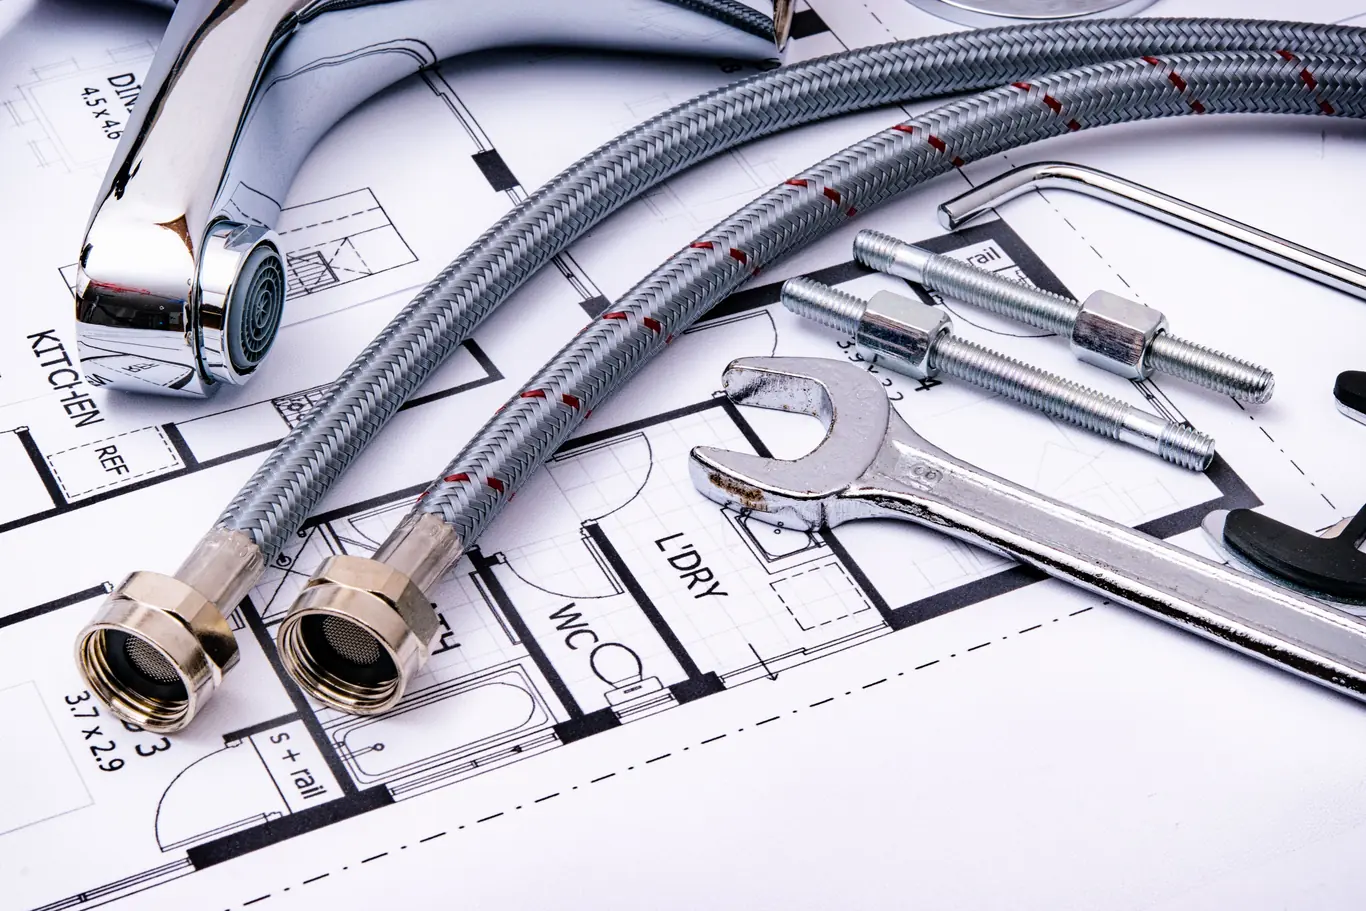
Most installations need only a handful of common tools, whether you are working under a sink or at the main line. Gathering everything before you start saves you a frustrating mid-project trip to the hardware store.
The core kit for most jobs looks like this:
- Adjustable wrench: loosens and tightens the fittings on either side of the filter housing.
- Tubing cutter or hacksaw: makes a clean, straight cut if you are joining copper or PEX line.
- Plumber’s tape: seals threaded connections so they do not weep at the joint.
- Bucket and old towels: catch the water left in the line when you open it up.
- Phillips and flathead screwdrivers: mount the housing bracket to the wall or cabinet.
How to Install a Whole-House Water Filter System
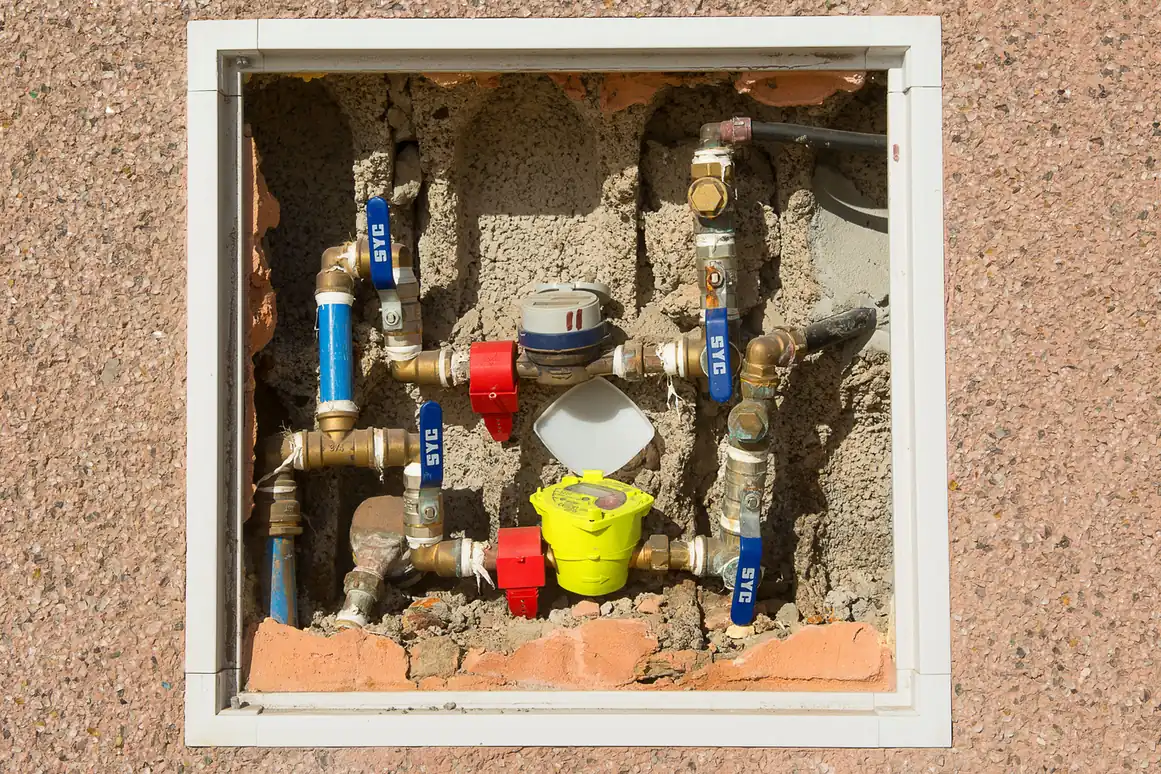
Installing a whole-house system means working on the main line instead of a single fixture. The process starts before the water ever reaches a faucet. First, find the main shutoff valve and turn it off. Then open the lowest hose bib (an outdoor or basement spigot) to relieve pressure in the pipes.
Next, cut into the pipe at the point you have chosen, often right after the main shutoff. Most installers add a bypass valve at this step, which lets the household use water again if the filter ever needs servicing. Mount the filter housing so the arrow printed on its body points the same way the water flows. A backward housing will not filter anything.
Replacing a cartridge in a Big Blue whole-house housing follows the same shutoff-and-re-seat procedure; my PUREPLUS whole-house housing review covers the replacement steps and what the NSF 42 certified 5-micron cartridge needs to seat properly.
A whole-house system also needs enough flow to keep the pressure steady. Most homes need at least 10 to 15 gallons per minute, or GPM. That is the measure of how much water moves through the pipe each minute. Falling short of that leaves you with a noticeable pressure drop when two fixtures run at once. Choosing an undersized filter is one of the more common regrets people report after a whole-house install. Our guide to choosing a water filter walks through sizing before you buy.
An NSF/ANSI 53 certification only holds up if the system is installed exactly the way the maker specifies, according to NSF International. That is one reason most people hire a licensed plumber for this job. Cutting into the main line, adding a bypass valve, and meeting local plumbing code all carry real consequences if done wrong.
How to Test Your Water Filter After Installation
A new cartridge needs a flush before you drink from it. Run the tap for the length of time the maker lists, often five to ten minutes. That clears out any loose carbon dust or manufacturing residue before the water goes in a glass.
A 6-stage under-sink RO system runs the same initial flush protocol, with the alkaline stage needing a longer first run to stabilize pH; my iSpring RCC7AK installation review covers the full installation sequence and what the first-day flush looks like for a multi-stage certified unit.
After the flush, check each fitting you touched for leaks, including the ones that looked tight when you tightened them. Run water at full pressure for a few minutes and look underneath the housing for any drips. A steady flow rate at the tap, with no hissing or sputtering, tells you the connections are sealed. The filter is seated right.
Testing matters more than owning a filter in the first place. After the Flint water crisis, CDC investigators confirmed that filters installed and maintained the right way made the city’s tap water safe to drink again. The filter only works as advertised when each step, from flushing to leak-checking, is done right.
Common Water Filter Installation Mistakes to Avoid
The single most common DIY mistake is installing the housing backward. Each filter housing has a small arrow printed on the side that shows which way the water should flow. Ignoring it means the cartridge will not filter anything at all.
Skipping the initial flush is another frequent error, since it leaves carbon dust in the first few glasses of water. Using the wrong thread size is a close third, since a three-quarter-inch fitting forced onto a half-inch line will never seal right.
Leaving out the bypass valve is the mistake that causes the most regret later. It means shutting off the whole house’s water supply just to change a cartridge. Getting these details right the first time shows why learning to install a water filter the right way is worth the extra care.
How We Research
We check every claim against primary sources. Federal agencies like the EPA and CDC come first. Certification bodies like NSF and AHAM come next. We verify each standard number against the issuing body. We review this guide on a set schedule.
Why Trust This Guide
Puritisimo covers only water and air quality. Our guidance is editorial and independent. We cite every health figure so you can check it. We never present a promotional claim as fact.
Getting Your Installation Right the First Time
Most people install a point-of-use filter in an afternoon with basic tools. A whole-house system is often worth handing to a licensed plumber, given the flow and code requirements. Whichever route fits your home, the process pays off if you flush the cartridge, check each fitting for leaks, and confirm the flow direction. If you are starting with a single tap, a dedicated guide to installing a faucet water filter covers those point-of-use steps in more depth. Once the water filter installation is done right, the upkeep after that is simple: swap the cartridge on schedule and recheck connections.
A faucet-mount filter is one of the quickest certified point-of-use installs, since it replaces the aerator rather than cutting into any pipe; my PUR Plus faucet filter review covers a certified NSF/ANSI 53 faucet-mount option and what the install involves.
Frequently Asked Questions
How to install a water filter?
Installing a water filter comes down to four steps: shut off the water, connect the new filter, flush it, and check for leaks. Point-of-use filters often take under two hours with basic hand tools, while whole-house systems often need a licensed plumber. Following the steps in order determines whether the filter works.
Can I install a water filter system myself?
Yes, for point-of-use and faucet filters, which most people install themselves in 30 to 90 minutes with basic tools. Whole-house systems are a bigger job, since they involve cutting into the main supply line and adding a bypass valve. Unless you are used to working on your home’s main water line, that part is often worth hiring out.
How to properly install a water filter?
Proper installation means getting three things right: correct flow direction, a full flush before first use, and a careful leak check after. Skipping any one of them is the difference between a filter that works and one that only looks installed. After the Flint water crisis, CDC investigators confirmed that correctly installed filters made the tap water safe again.
What is the correct position of a water filter?
The correct position is whatever direction the arrow on the housing points, since that arrow marks the way water is meant to flow through the cartridge. Installing it backward is the single most common DIY mistake. For most point-of-use setups, that also means connecting to the cold water line, not the hot one.
How to connect a water filter to a tap?
Connecting a filter to a tap starts with removing the faucet’s aerator, the small screen at the very tip of the spout. Thread the filter’s adapter onto the faucet in its place, using the size that matches your faucet’s threading, then attach the filter unit itself. A quick run of water later confirms the connection is snug and leak-free.
References
- EPA. Basic Information about Lead in Drinking Water.
- CDC. Lead Prevention: Drinking Water.
- NSF International. Standards for Water Treatment Systems.
- CDC MMWR. Investigation of Elevated Blood Lead Levels and Water Testing Following Reports of Contamination, Flint, Michigan, 2015.
Medical Disclaimer: This content is for informational purposes only. It is not a substitute for professional medical advice, diagnosis, or treatment. If you have concerns about your water quality or air quality and their effects on your health, consult a qualified healthcare professional.